La meilleure recette de poulet au miel et à l'ail
Honey Garlic Chicken is an absolute staple for anyone who loves rich, savory, and sweet flavors combined in one perfectly balanced bite. When you are craving the comfort of your favorite local takeout spot but want a fresh, homemade meal on the table in under 30 minutes, this recipe is the ultimate solution.
Instead of relying on deep-frying or complicated techniques, this method uses a simple pan-sear to create a beautifully golden crust on the chicken. The magic truly happens in the skillet, where a few basic pantry components transform into a glossy, mouthwatering glaze that generously coats every single piece of chicken, packing maximum flavor into minimal effort.
Pourquoi vous allez adorer cette recette
The beauty of this Honey Garlic Chicken lies in its sheer simplicity and accessible ingredients. You do not need any special culinary training or hard-to-find grocery items to pull this dish off beautifully. It is a fantastic option for busy weeknights, offering restaurant-quality taste in a fraction of the time it would take for a delivery driver to arrive.
Furthermore, this dish is universally appealing. The sweetness of the honey tempers the pungency of the garlic and the saltiness of the soy sauce, creating a flavor profile that both adults and picky eaters will devour. It is versatile, budget-friendly, and virtually foolproof if you follow a few basic cooking principles.
Ingrédients
To achieve the best possible flavor and texture, gather the following ingredients:
- Boneless, skinless chicken breasts: Cut into even 1-inch bite-sized cubes for quick, uniform cooking.
- Cornstarch: Essential for creating a light, crispy exterior on the chicken without the heaviness of a flour batter.
- Salt and black pepper: For baseline seasoning.
- Olive oil or neutral cooking oil: Used for pan-frying the chicken to golden perfection.
- Unsalted butter: Adds richness and a velvety finish to the sauce.
- Fresh garlic: Finely minced. Do not substitute with garlic powder; fresh garlic is the star of the show.
- Honey: Provides the sticky sweetness and helps the sauce thicken and caramelize.
- Low-sodium soy sauce: Delivers necessary umami and saltiness.
- Apple cider vinegar: A splash of acidity to cut through the sweetness and balance the entire dish.
Instructions étape par étape
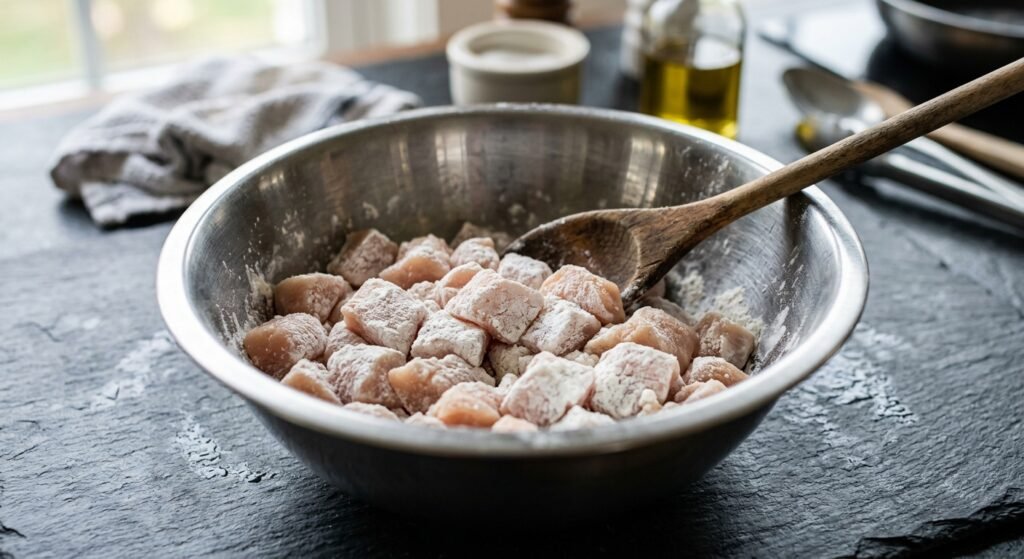
1. Prep and Coat the Chicken Begin by patting your cubed chicken breasts completely dry with a paper towel. Moisture is the enemy of a crispy sear. Place the dried chicken pieces into a large bowl, season them with salt and black pepper, and sprinkle the cornstarch over the top. Toss everything together vigorously until every single piece of chicken is evenly coated in a thin, dry layer of cornstarch.
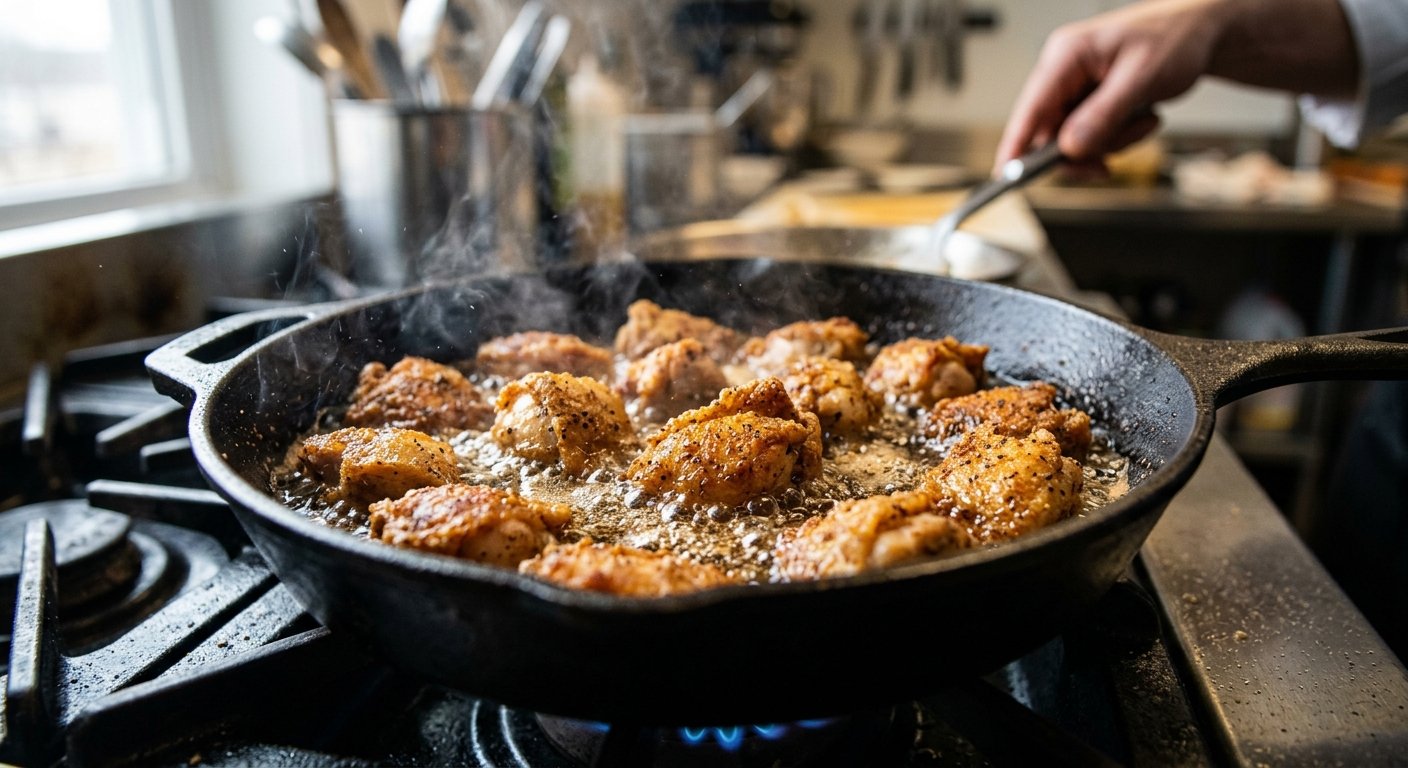
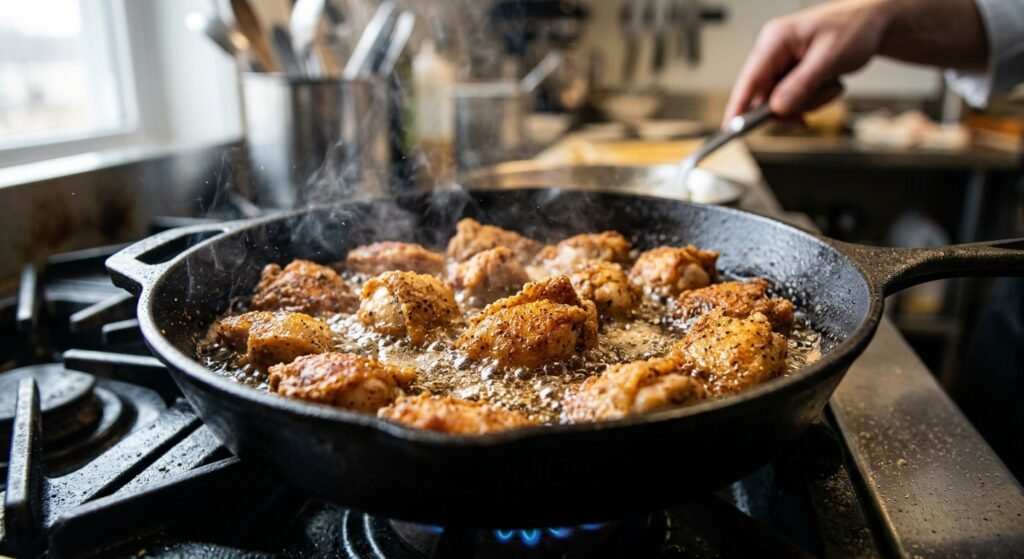
2. Sear the Chicken Heat your olive oil in a large, heavy-bottomed skillet over medium-high heat. Once the oil is shimmering and hot, add the coated chicken pieces in a single layer. Be careful not to overcrowd the pan; work in batches if necessary. Let the chicken cook undisturbed for 3 to 4 minutes on the first side to develop a deep golden-brown crust, then flip and cook for another 3 to 4 minutes until cooked through. Remove the chicken to a plate.
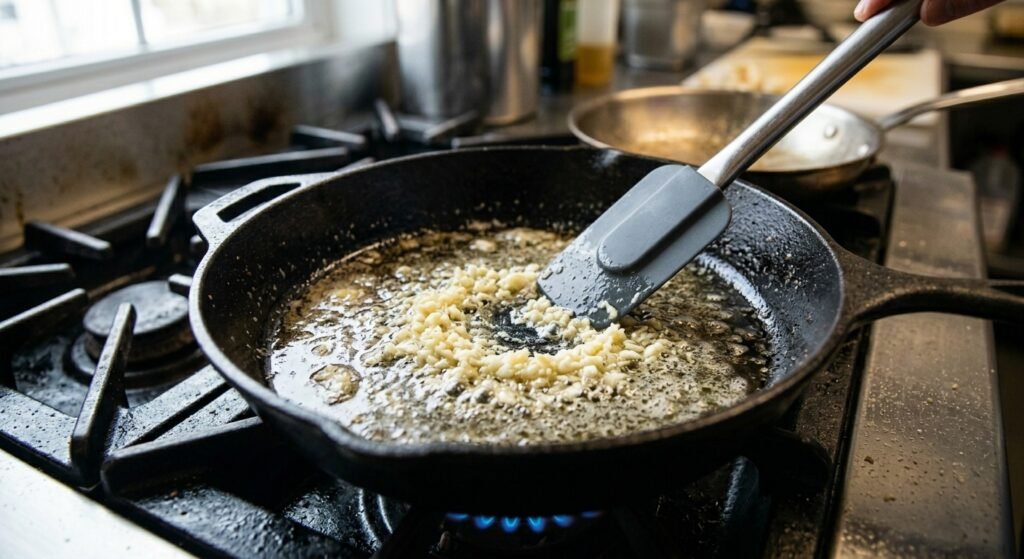
3. Sauté the Aromatics Reduce the heat to medium-low. In the same skillet, melt the unsalted butter, scraping up any browned crispy bits left behind by the chicken. Add the freshly minced garlic to the melted butter. Sauté the garlic for exactly 30 to 60 seconds, stirring constantly. You want it to become incredibly fragrant and slightly softened, but it is crucial not to let the garlic brown or burn, as it will turn bitter.
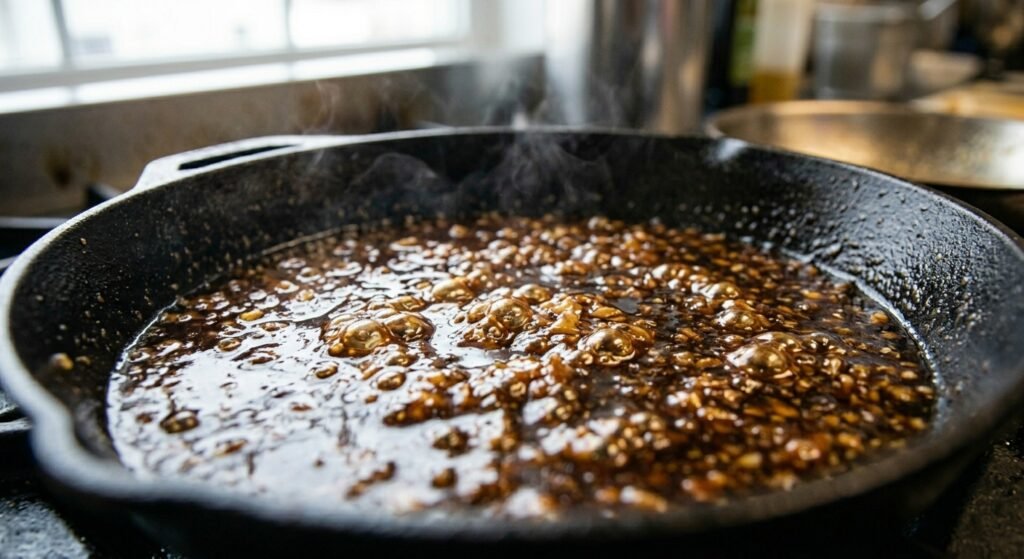
4. Build and Thicken the Sauce Pour the honey, low-sodium soy sauce, and apple cider vinegar directly into the skillet with the garlic and butter. Whisk the ingredients together until smooth. Allow the mixture to come to a gentle simmer. Let it bubble for 2 to 3 minutes; you will notice the sauce beginning to reduce, darken, and thicken into a glossy syrup that coats the back of a spoon.
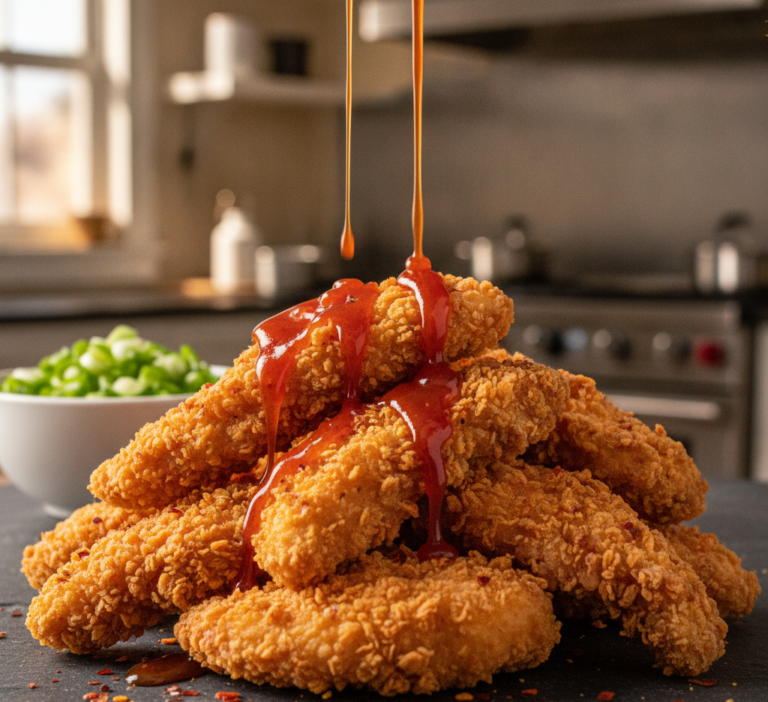
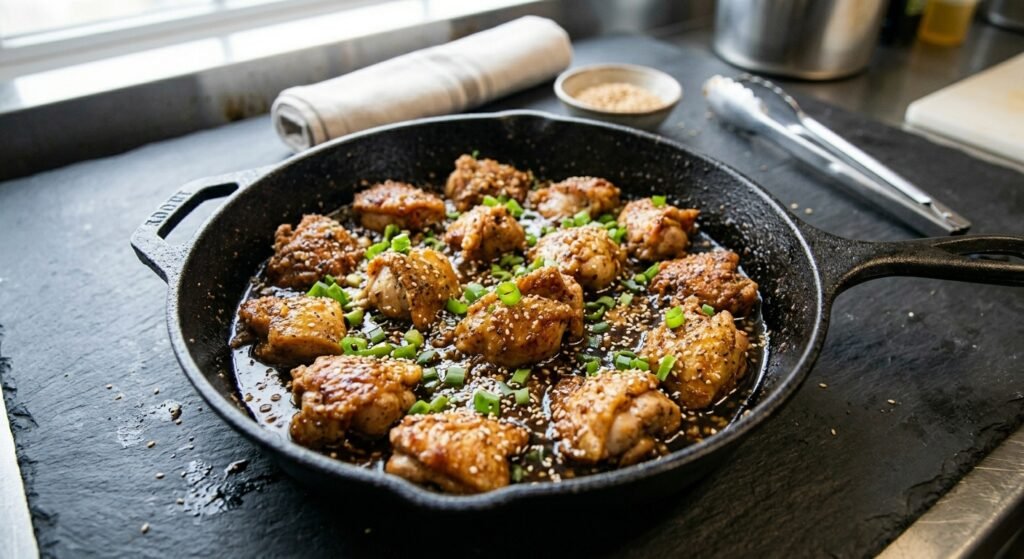
5. Toss and Serve Return the cooked, crispy chicken back into the skillet. Toss the chicken thoroughly in the simmering sauce, ensuring every single piece is heavily glazed and coated. Let the chicken warm through in the sauce for about 60 seconds. Remove the skillet from the heat immediately, garnish with toasted sesame seeds and chopped green onions, and serve hot!
Conseils pour des résultats parfaits
To achieve that flawless, takeout-style texture, temperature control is your best tool. Ensure your skillet is adequately preheated before adding the chicken. If the pan is too cold, the chicken will steam rather than sear, resulting in a soggy exterior. Additionally, always use low-sodium soy sauce; traditional soy sauce combined with the reduction process can make the final dish overwhelmingly salty.
Flavor and Cooking Variations
- Make it Spicy: If you love a sweet-and-heat dynamic, add a teaspoon of crushed red pepper flakes or a tablespoon of sriracha to the sauce mixture during step four.
- Add Vegetables: Bulk up the nutritional value by tossing in some steamed broccoli florets, snap peas, or diced bell peppers during the final minute of tossing the chicken in the glaze.
- Use Chicken Thighs: For an even juicier, more forgiving cut of meat, swap the chicken breasts for boneless, skinless chicken thighs prepared in the exact same manner.
What to Serve With Honey Garlic Chicken
Because this Honey Garlic Chicken boasts a robust, sticky sauce, it pairs beautifully with neutral bases that can soak up the extra glaze. Serve it over a steaming bowl of jasmine rice, brown rice, or even quinoa. For a lower-carb option, cauliflower rice works wonderfully. To round out the plate, add a side of roasted bok choy or a crisp cucumber salad tossed in rice vinegar.